I built a sensor using the official instructions. It transmits data to the Sensor Community.
However, I failed to find instructions on how to make one work on a display. I only found one on Circuitdigest that uses an Arduino nano. I would like one to measure PM 2.5 inside without transmitting it to the Sensor Community, because it would distort the data.
If you know the direct link to a sensor with display on the Sensor Community website it would be really nice if you could post it here.
I still don’t understand why you want to completely rewrite a firmware on another board. You can simply use the esp8266 with any screen you want. It works. I have some sensors currently working.
I don’t want to rewrite anything.
But I need complete instructions on which wire goes where and all the software instructions as well.
Otherwise I fail miserably. And I am unable to find that on The Sensor Community website for the esp8266 with a display.
1 Like
Maybe it’s not a bad idea to make a few guides with pictures of how to use the peripherals (sensors, displays, etc) that the firmware already supports.
Btw @cleanair, you can designate the sensor as an indoor one so it won’t affect the data.
Sound like good ideas.
Good chance that it will help a lot of people who are eager for awareness of air quality. Which might result in concrete steps to improve it. Our lungs will be grateful…
Everything already is on the website and/or in the GitHub. Please refer to the official instructions and repos.
Ok, I will try to find them again.
Is there a guide for adding a screen as well? I can find the classic one for the basic air sensor, another one that is not as user friendly for the dnms, and some other stuff like schematics for 3d printing.
Another thing is from what I gather it’s not viable to use the particle sensor and the weather sensor along with the screen on the esp8266 but you have to use something more powerful like the esp32. This is not very clear, especially to a newbie.
And since this is a voluntary project, I could try and organize the information myself but I will not be able to make the actual guides.
Pins and supported screens:
Just read the README.md file
Official instructions:
https://sensor.community/en/sensors/airrohr/
The screens can be chosen in the configuration interface.
Another thing is from what I gather it’s not viable to use the particle sensor and the weather sensor along with the screen on the esp8266 but you have to use something more powerful like the esp32. This is not very clear, especially to a newbie.
Who said that ? There are 120 sensors working with a screen in Paris.
The guide is in the github (website repository). Feel free to clone and make a PR.
Oh that’s really helpful. Didn’t think of looking under software folder. Do you think it will be possible to add a link to the formal guide on the main website?
Now regarding the esp8266, there was some discussion about that issue here on the forum.
The TFT screen is not supported by the firmware, that is the point…
Only LED und OLED.
And: you do not need a screen when you can access the data through the API. I made some small devices without sensor but which show the value of a particular sensor.
Why do you need a screen ? Do you really need to see the values every second ? There are numerous way to see the value on the sensor, at least 4 or 5…
Sorry I wrote TFT by accident, I wanted to write LCD but it really does not matter what kind it is.
I can think of two situations where a screen might be useful. One is if you have a sensor in some public space and you want other people than you to be able to see the values. That could actually create awareness. Of course you could introduce a bigger screen which calls on the API as you said, but this involves two devices which might create other complications. One could argue that one could have the same effect with a QR code, but older people might not be familiar with that. The other situation is if one wants to use it as an internal sensor, it is always faster to look on a screen and it is not like everyone is implementing home automation all the way.
So anyway, my main concern here is about helping newcomers to build the project they want. It can become very confusing when one first starts and tries to work things out, having relevant information at hand is important in my opinion. I mean since the code supports it in the first place, then it is only about the documentation. To give a more extreme example, the firmware supports a few geiger sensors, but if one were to look of how to implement one the information is very scarce.
1 Like
One is if you have a sensor in some public space and you want other people than you to be able to see the values
The instructions we provided allow one to build a functional sensor without screen but with parts which are the same for everyone and without having to 3D-print or cut through plastic…
It won’t be the case when you want to add a screen. And actually we would have to prepare instructions for every screen on the market.
It can become very confusing when one first starts and tries to work things out, having relevant information at hand is important in my opinion.
It is the reason why we need local communties. It worked like that in Germany before the corona virus: meetings and workshops where you can bring your stuff and get some help and explanations…
IMHO it is also a kind of empowerment when you succeed on yourself to sort things out and build you own sensor with a bit of investigations: “Aide-toi et le Ciel t’aideras”, as we say in French.
You can also make a local fablab produce such sensors, everything is open source:
To give a more extreme example, the firmware supports a few geiger sensors, but if one were to look of how to implement one the information is very scarce.
1 Like
Not really, this is unecessary. You could add of course a guide for a popular screen for reference, but the main thing here is to know how to connect it. Relevant schematics would be sufficient.
Funny thing that you mention this because that is what I also had in mind. But what happens in local communities is the exact opposite of what you are decribing, there is someone to guide you along the way, even to help providing the relevant parts. This is an important reason why it is so succesfull. I think the most important is to get as many people as possible to participate, and to do that it should be made easier not harder. If one wants to get a feeling of accomplishment he still can, he could even build a new firmware from scratch if he wants to. But if he doesn’t or doesn’t have the time for that, by making the information readily and conveniently available he can still participate.
Now about the geiger part, I am aware about this project but only after I saw the entry on settings and googled it. And I am not sure they are using the same firmware, not to mention the device.
In any case you provided many interesting links that I have also came across to but only after spending time googling. What would hurt to have some of them on the main website along with a brief explanation?
1 Like
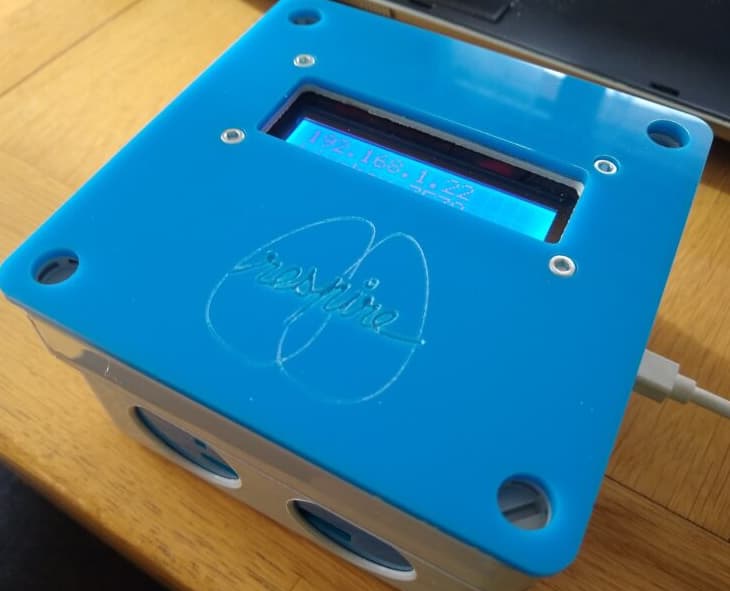
I use a display for the one in my car. It’s one of the supported displays. I can check which one and tell you the wiring connections to make. In the end, I used one of those boards that the ESP8266 plugs into and duplicates the connectors (so that you can easily connect more than one peripheral at a time). Let me know if you still need help with this.